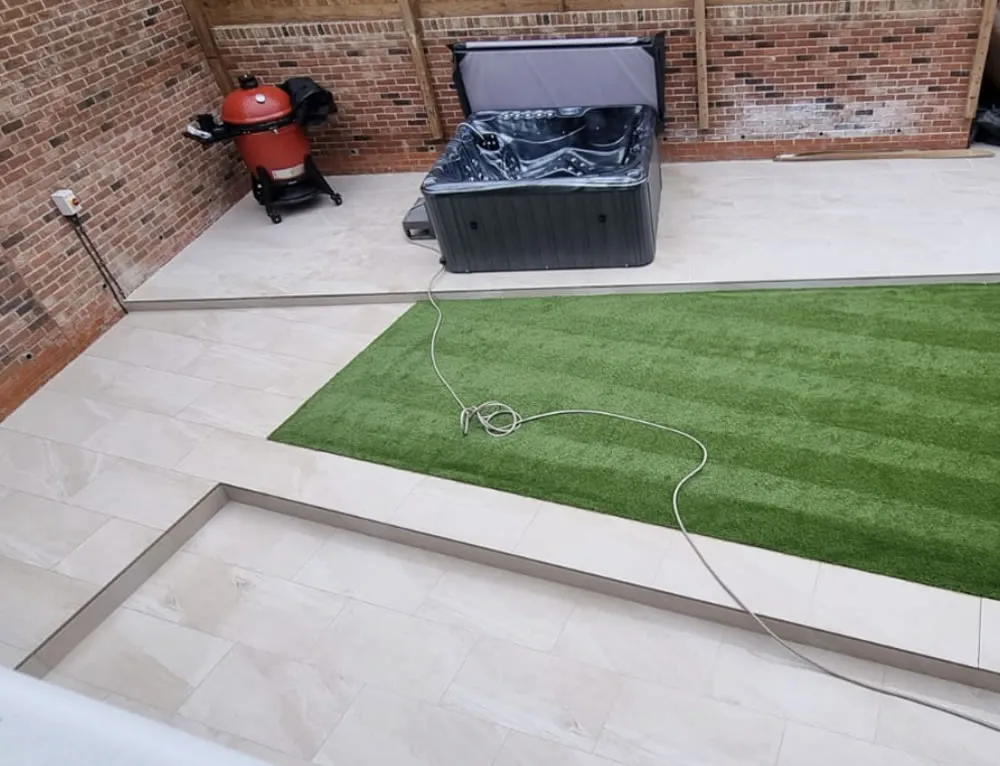
Patios
Porcelain Patios in Guildford
Colour-stable, dense and precise — porcelain gives the cleanest terrace you can build, provided it is primed, full-bedded and jointed correctly.
Outdoor porcelain has transformed what a Surrey terrace can look like: 20mm slabs with almost no water absorption, calibrated to within a millimetre, in finishes from honed concrete to convincing timber. It is also unforgiving. Porcelain cannot be spot-bedded, cannot be laid without a slurry primer, and shows every millimetre of a lazy level.
What makes porcelain different
Outdoor porcelain is fired at very high temperature to a water absorption below 0.5%. That single property explains most of its advantages: it does not soak up water, so it resists frost damage, staining, algae and colour change almost completely.
Because slabs are calibrated rather than riven-cut, joints stay consistent and the finished terrace reads flat and precise. If you want a crisp, architectural surface that looks the same in year ten as in year one, porcelain is the material.
- Virtually non-porous — resists stains, frost and algae
- Colour-stable: no fading, no yellowing, no efflorescence
- Calibrated thickness for tight, even joints
- R11 slip ratings available for wet and shaded areas
Styles, colours and finishes
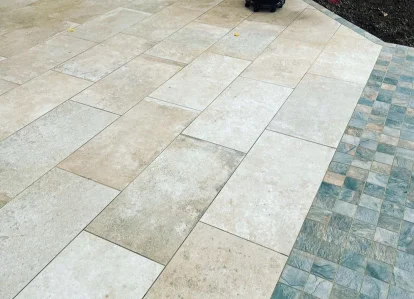
Porcelain ranges divide broadly into four families, and the right one usually follows the house rather than the garden.
- Concrete and cement effect — grey and ivory tones, ideal against render and modern glazing
- Stone effect — sandstone, limestone and slate reproductions with natural shade variation
- Timber effect — plank formats for decked-look terraces with none of the rot
- Marble and polished effect — reserved for sheltered or covered areas where slip is not a factor
Slip resistance
British gardens are wet and often shaded, so slip rating matters more here than the brochure photography suggests. Most quality outdoor porcelain is R11; anything below R10 belongs under cover.
For steps, pool surrounds and north-facing terraces we specify R11 as a minimum and take extra care with the nosing detail on steps, where slips actually happen.
Preparation, laying method and drainage
Porcelain is laid on a full mortar bed over a compacted MOT Type 1 sub-base, typically 100–150mm deep, with a concrete or mortar bed of 35–50mm above it. Five-spot bedding — dabs of mortar under the corners — causes rocking, cracked slabs and water pooling under the terrace. We do not use it.
The back of every slab is primed with an SBR or acrylic slurry before it is bedded. Porcelain is too dense to bond to mortar on its own, and unprimed slabs will eventually lift. This is the single most skipped step in the trade.
Falls of around 1:80 are set away from the house, and the finished terrace sits at least 150mm below the damp proof course. Where that is impossible, we build in a linear drain or slot channel at the threshold instead.
Jointing, steps and borders
Joints are typically 5mm and filled with a two-part brush-in jointing compound suited to porcelain's smooth edges. Standard sand-and-cement pointing stains porcelain and does not bond well to it.
Steps and level changes are where porcelain earns its money. We use matching bullnose or 20mm slabs on a masonry core, with a consistent riser height throughout the run. Contrasting borders, sett courses or a strip of the same slab in a different format define the terrace edge against lawn or planting.
Maintenance
Sweep, and wash occasionally with warm water and a mild detergent. Porcelain needs no sealing — sealing it does nothing because there is nothing to seal. Algae on a shaded terrace lifts with a patio cleaner and a stiff brush.
Avoid strong acid cleaners near jointing compound, and keep a pressure washer at a sensible distance and pressure so joints stay intact.
How we build it
The installation process, step by step.
- 01
Design visit
Levels, falls, DPC height, sightlines and slab samples viewed in your garden.
- 02
Excavation
Dig out to depth, remove soft ground and set out the terrace to your house line.
- 03
Sub-base
MOT Type 1 laid and compacted in layers with falls established early.
- 04
Full-bed laying
Slabs primed and bedded on a full mortar bed, levelled slab by slab.
- 05
Steps and edges
Risers, bullnose detailing, borders and thresholds built in to match.
- 06
Jointing and clean-down
Brush-in jointing compound, full wash-down and all waste removed.
Recent work
Porcelain Patios projects across Guildford & Surrey
Work completed across Guildford, Godalming, Woking, Farnham, Cranleigh, Haslemere, Shalford, Merrow, Burpham, Ash, Normandy, Ripley and the surrounding Surrey villages.
“I had a new patio installed by Gary and his team and couldn't be happier with the whole experience. They really know their stuff and were happy to answer all of my questions. A pleasure to have them working in the garden, respectful and polite and the new patio looks great.”
Jack Thatcher
Godalming, Surrey · Porcelain patio · Google Review
Read our Google reviews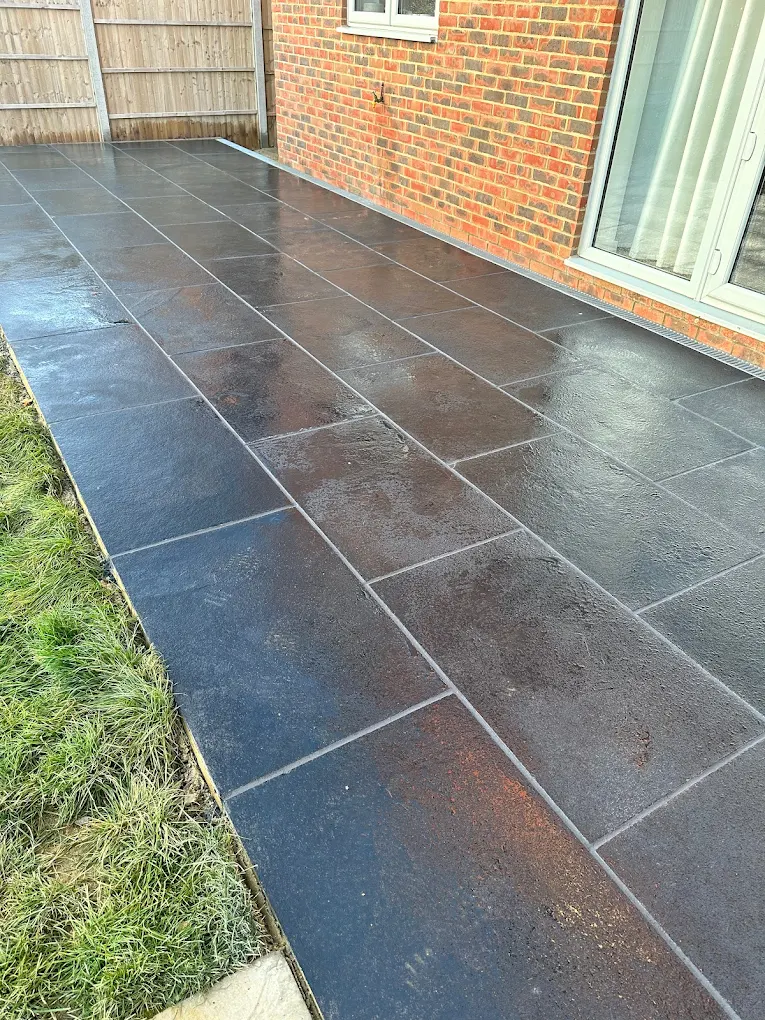
Areas we cover
Porcelain Patios across Guildford & Surrey
Guildford
Our home town — from Merrow and Burpham to Onslow Village and Shalford.
Working in GuildfordGodalming
Period properties, conservation-sensitive materials and sloping plots.
Working in GodalmingWoking
Modern estates, resin driveways and low-maintenance gardens.
Working in WokingFarnham
Georgian frontages, brick detail and sympathetic paving schemes.
Working in FarnhamCranleigh
Village plots, long drives and gravel or bound gravel finishes.
Working in CranleighFAQ
Porcelain Patios — your questions answered
Related services
Free design & quote
Talk to us about your porcelain patios project.
We visit, measure, check drainage and levels, and send a written quote with the build-up specified. No pressure and no obligation.